
When I first moved into my house, almost 20 years ago, there was a single attached, under drive garage that was begging to be transformed into living space. Having two wee boys, the long space was perfect for a family room and with IKEA millwork it was soon split into separate (yet together) TV viewing and play spaces.
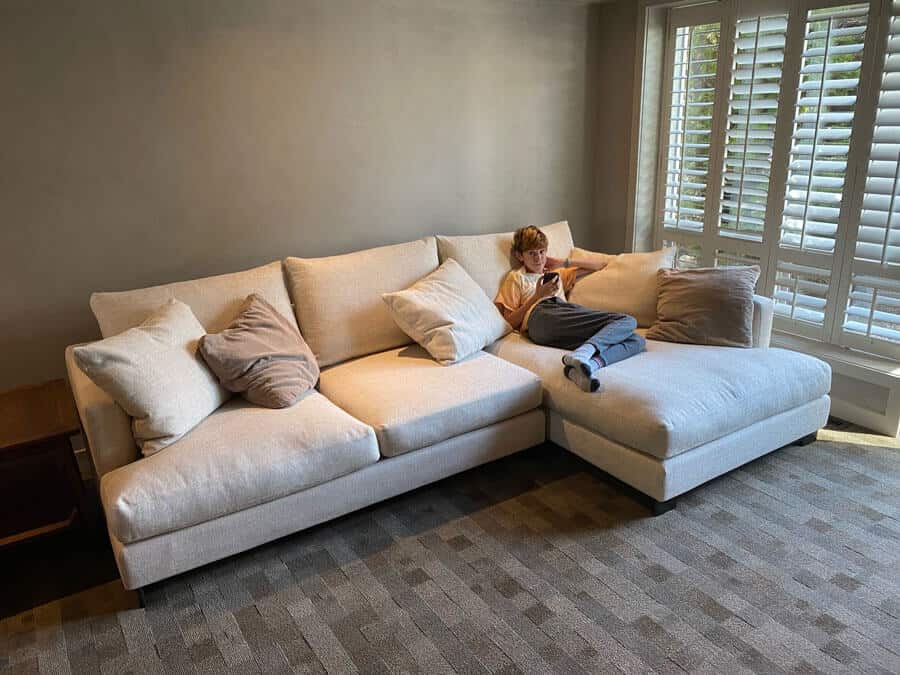
Now — with two teenagers, a sagging brown sectional, and the bloom of the IKEA rose long since gone, I decided it’s time for the family room to grow up too.
The floor of the original garage was sloped. Levelling in 2004 resulted in a 86” high ceiling. That’s low with the current ceiling standard being upwards of 100” but it has always been a cozy space, and let’s face it… I’m always sitting in that room, so the height never much bothered me.
I toyed with thoughts of paneling and wallpaper but decided to embrace the den idea and amp up the benefits of a cozy cave atmosphere by darkening the walls AND ceiling with the texture of LIME PAINT. (Hidden agenda… this would allow me to get my ivory linen look sofa that I’ve always coveted and banish the boys to their bedrooms.)
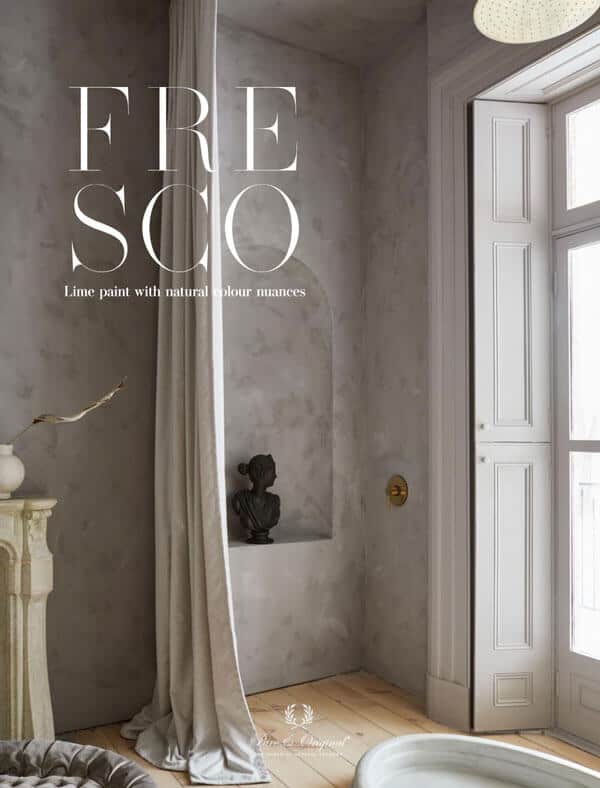
Pure & Original Fresco Lime Paint
I’ve heard of lime paint and Italian plaster for a while now. But not wanting to spend astronomical prices on a painter who specializes in such finishes and the slower work schedule of the summer, I decided to do some research, watch some YouTube and get acquainted with doing it myself. I found “Pure & Original”.
Pure & Original is a Dutch company specializing in high-end, sustainable and ecological paint finishes for interiors. They have a couple of different finishes and methods of application. I was initially drawn to their Marrakech Wall finish, but the thought of trying to trowel texture overhead for possibly long stretches of time, did not appeal to my neck. So I decided to go with the Fresco Lime Paint for what I thought would be a more straightforward, and more manageable, application.
Fresco Paint Days
Luckily, here in Calgary, Walls Alive carries the Pure & Original line and having worked with it in the past, they were able to guide me with respect to quantities required and techniques that have worked for them. I chose the “wet sand” color and after spending far more than I anticipated, was ready to start…
After a day of prepping the walls (which is minimal due to the thick nature of the Pure & Original paint) and taping off baseboards and trim (which I would later paint with regular paint), I started with the required Wall Prim primer and rolled a single coat on walls and ceiling. This can be rolled on so was relatively quick work.
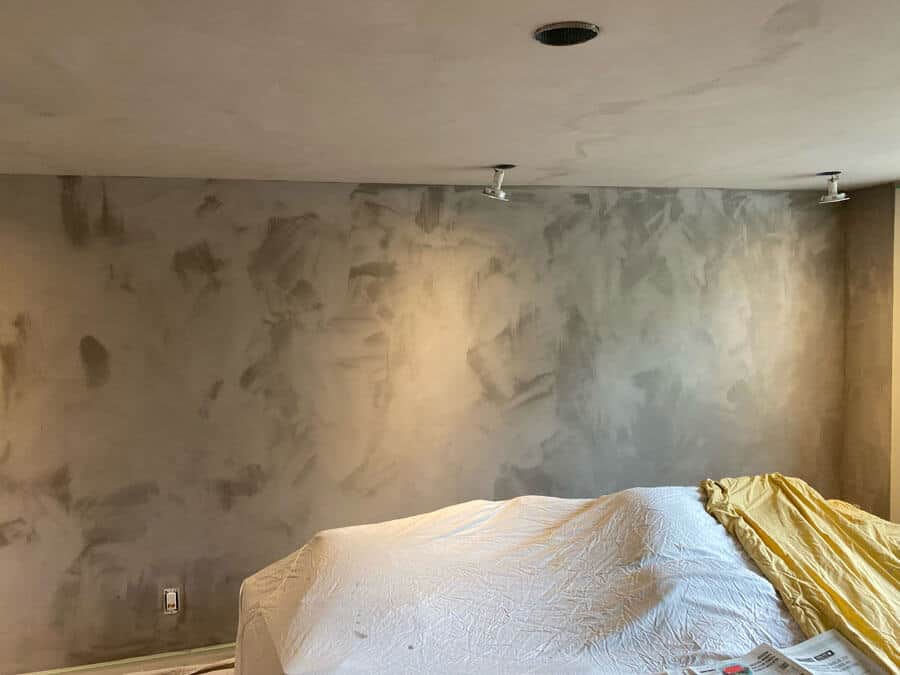
The next two days were Fresco days. After diluting the product by 20% (upon recommendation from Walls Alive) the first coat is brushed on using a wide boar hair brush. Now there are different ways to apply the Fresco, depending on the visual result you wish to see. You can paint in up/down linear fashion or crisscross, or free-style. After getting the hang of the viscosity and how you best brush, it’s relatively easy to apply. I ended up having a crisscross/swirl technique. This paint dries FAST. So make sure to follow the manufacturers recommendations as to painting small areas and from dry areas into wet. It is a bit tricky here in dry Calgary to always have wet paint to paint into but in the end, it all worked out OK. The paint goes on darker then lightens as it dries (opposite typical paint). The darker areas below are still a little wet.
The second day/second coat requires a further 10% dilution of the 20% (again according to Walls Alive) and the texturing really starts to appear as the layers of paint take shape… As the paint is more dilute, the patterning evens out and becomes “softer” in appearance. Interesting to note that according to the manufacturer’s directions, they say that the Fresco does not need to be diluted, but can be diluted. I wonder what things would have looked like if I had NOT diluted…
Post Paint Coating & Sealing
This paint smells GREAT. It smelled a little like an earthen cave (in a good way!) when I was done the second coat. Apparently lime paint is anti-bacterial, anti-mould, and even can clean toxins out of the air…(?). Whatever. It smelled like the earth loved it. And so did I.
The Fresco needs a week to cure before applying the sealer. While it dries to the touch quite quickly, the process of lime paint involves the creation of a sort of stone type layer which needs time (and carbon dioxide) to harden. Now while you don’t need to seal the finished Fresco walls I definitely feel that you do. In order to make the Fresco at all wipeable — or resistant to any kind of spills or wet finger prints or really anything — you need to use their Dead Flat Eco Sealer. Imagine diluted white school glue and you’ve got the picture.
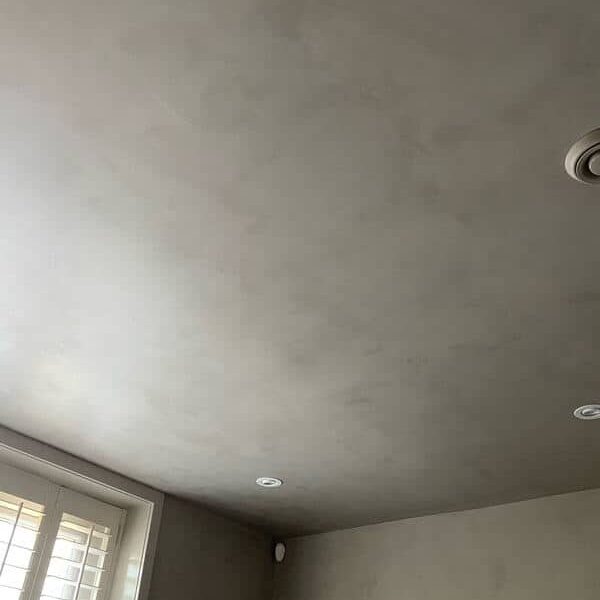
The manufacturer says that the sealer cannot be applied with a roller and should be applied with a brush. So despite Walls Alive telling me a roller was OK, I went with the brush. I did two full coats of the sealer with the brush and after drying, I still noticed inconsistencies on the wall and I was unhappy with the ceiling. It might be called “dead flat” but it isn’t. There is definitely a sheen to the sealer and after having lived with the unsealed flatness of the Fresco for a week, this just wasn’t the look I was wanting. I decided to dilute the last bits of the sealer even more (and probably beyond the recommended amounts) and rolled the ceiling with this barely there layer. It totally worked, evening out the sheen variances and leaving the ceiling perfectly imperfect.
I used an almost dried roller to even out areas on the walls as the light moved, revealing minor inconsistencies throughout the day. Overall, the sealer softens the texturing of the Fresco, which was a little disappointing as this is not really mentioned in any of the literature. But in the end, I am very pleased with how it all turned out… AND my new “grown up” ivory sofa (which is getting sprayed with PFAS free fabric protection next week).
Other Notes On Fresco Lime Painting
- This finish is NOT for perfectionists. You cannot go back and correct areas in isolation. I might have obsessed a little over particular areas/end appearances and I found hacks that seemed to work for me (in the overall scheme of things) but you should definitely have the mindset that things won’t be perfect and to embrace the irregularity.
- Despite me double measuring for quantities (and Walls Alive confirming quantities required) I ended up using only half of the purchased quantities of the Wall Prim and the Fresco and requiring an additional litre of the Sealer. Not sure what happened. Even taking dilution into consideration I shouldn’t have had this much surplus…
- This stuff is not cheap. While I may have saved labor charges by doing it myself, the price of the product itself is heart-attack inducing. I figured if I only paint this room every 20 years or so, it might amortize OK…;) but seeing that half of the stuff is sitting down in my basement right now… yikes.
- The curing process adds a week to your finished time, so be prepared for this to be longer than a weekend painting project.
- My neck didn’t get sore, but all that brush work gave me tennis elbow and a week in an elbow strap.
- It was all worth it. 🙂